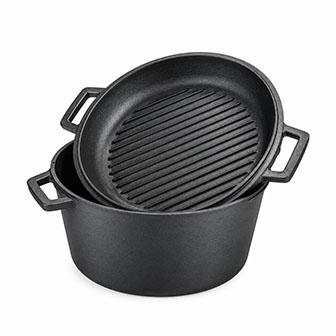
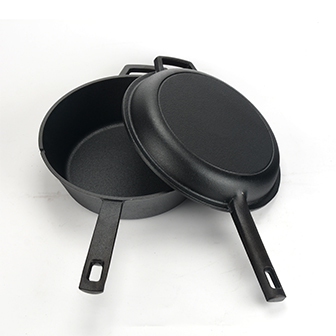
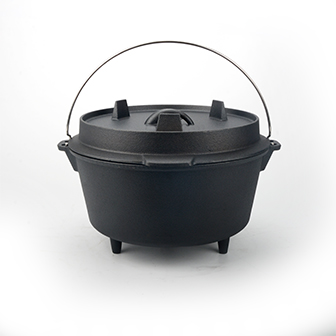
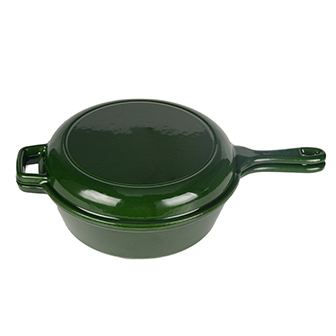
Cast Iron Enameled Mini Dutch Oven
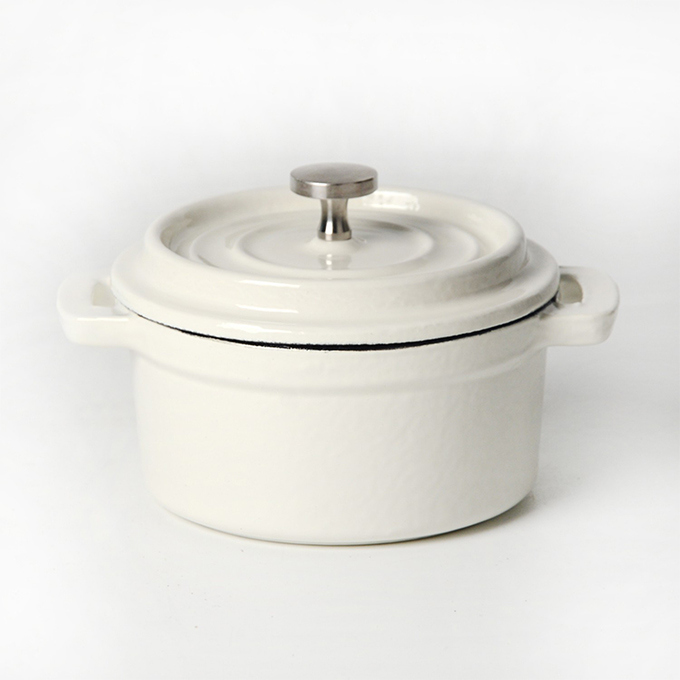
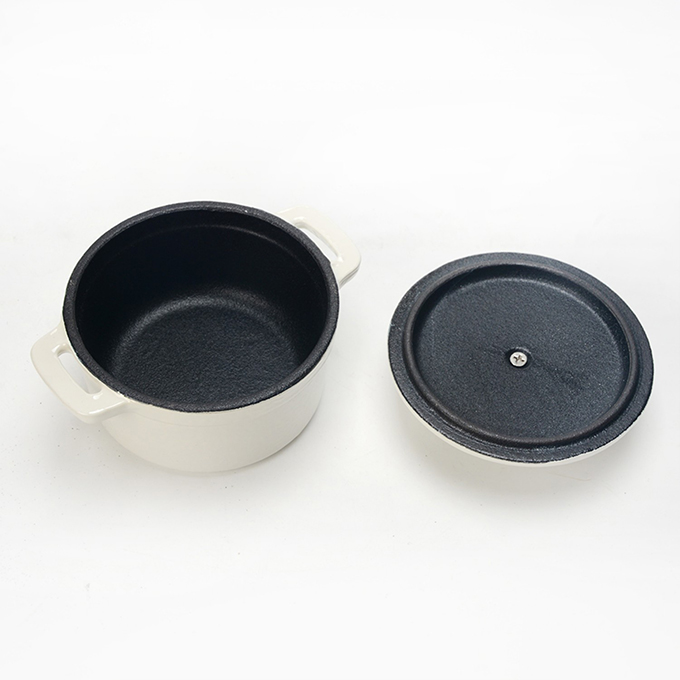
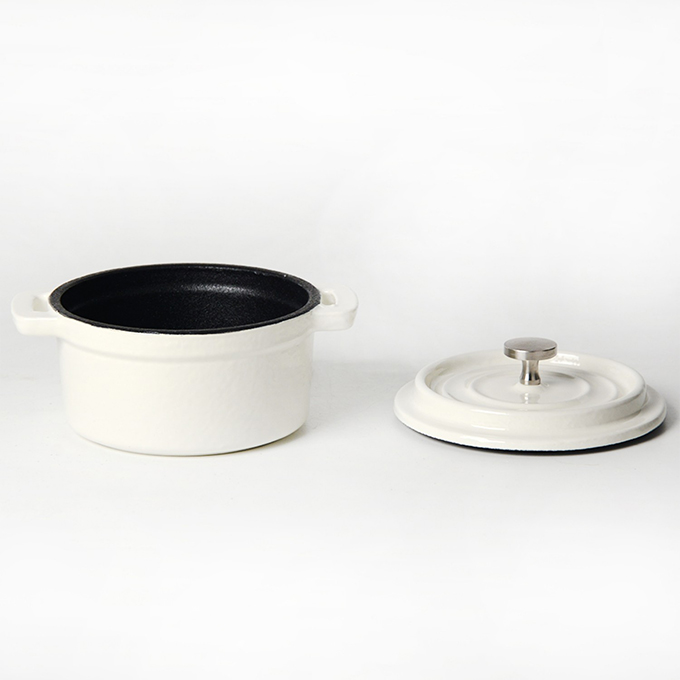


| Item Name | Cast Iron Enameled Mini Dutch Oven |
| Size | Dia. 10cm |
| Material | Cast iron |
| Surface | Enamel |
| Logo | Customized Logo acceptable |
| Package | Brown Box/Color Box |
| OEM/ODM | Acceptable |
Share
Product Detail
Features
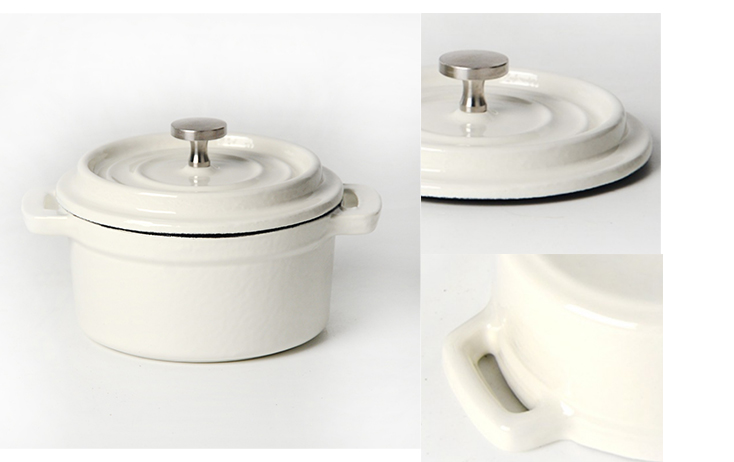
Custom Your Own Product
Free design & free mold with a qualifying order quantity.

Shape
Bring your vision to life. From a simple sketch, a sample, or even a concept—we'll design and make it real.

Logo
Laser Logo can be applied on all kind of products. Less MOQ. The cast logo is available on custom molds.

Color
Attract customers with vibrant custom colors, matched to any Pantone you require.

Packaging
With specialized packaging customization, your brand will leave a lasting impression. Turn unboxing into a moment they’ll remember.
Why Choose Us

Decades of Mastery
☑️ Rooted in 30 years of specialized craftsmanship in cast iron.

Quality guaranteed by inspection
☑️ BSCI and Sedex certified for ethical and socially responsible production
☑️ FDA, REACH, LFGB testing available upon request.

Customization Service
☑️ Brand building from sketch to molds, fully tailored to your identity and market needs.
☑️ Keep your product line competitive and ahead of the market.
Use and Care
How to maintain and improve the seasoning?
01
The simplest way is to use it for cooking.
Every time you cook with oil, you’ll gradually build up a better seasoning layer.
02
If you want to improve the seasoning of your cast iron cookware, you can use this “oven method” to help create a complete, strong seasoning layer that bonds well with the iron.
We suggest oven‑seasoning a few times a year to keep your pan in great shape, especially when restoring a rusty pan.
Step 1 Scrub with warm, soapy water, then rinse and dry completely.
Step 2 Rub a thin, even layer of oil all over the pan — too much oil will make it sticky.
Step 3 Put the pan upside down on a baking sheet or aluminum foil on the lower rack.
Bake at 230-260℃(450–500°F )for 1 hour, then let it cool.

FAQ
01
Is It Normal to Discolor When I Start Using It?
Yes, discoloration is normal when using a new pre‑seasoned cast iron skillet or griddle.
The uneven color appears as the seasoning layer matures with heat and oil.
With regular use, the surface will darken evenly and become more non‑stick.
For faster seasoning, just use a little more oil while cooking.
02
Rust? Don't Worry, It's not Broken
Cast iron may rust if exposed to moisture for a long time. Rust is not harmful, but can be easily fixed.
Common causes: soaking in water, dishwasher use, air-drying, or storing in humid places.
You can refer to the “oven method” above to restore your cookware.
Applying a thin layer of oil after each use to maintain its seasoning is also recommended
03
How to Deal with the Black Specks?
Black specks from worn seasoning are harmless and can be fixed with proper re-seasoning.
1. Gently scrub off loose flakes.
2. Apply a thin, even layer of oil over the entire pan.
3. Preheat oven to 230-260℃(450–500°F ). Place the pan upside down on the middle rack.
4. Line the bottom rack with aluminum foil to catch drips. Bake for 1 hour.
5. Let cool completely. Repeat as needed – flakes will lessen with each seasoning.
04
How to Remove the Lingering Smells?
Lingering smells can come from cooking fish, spicy foods, or improper cleaning before storage.
1. Bake the pan in the oven at 200℃(400°F) for 15 minutes to remove odors safely without damaging the seasoning.
2. Or sprinkle table salt on the surface, leave overnight, then rinse.
3. If smells remain, gently scour and re-season the cookware.

Related Products